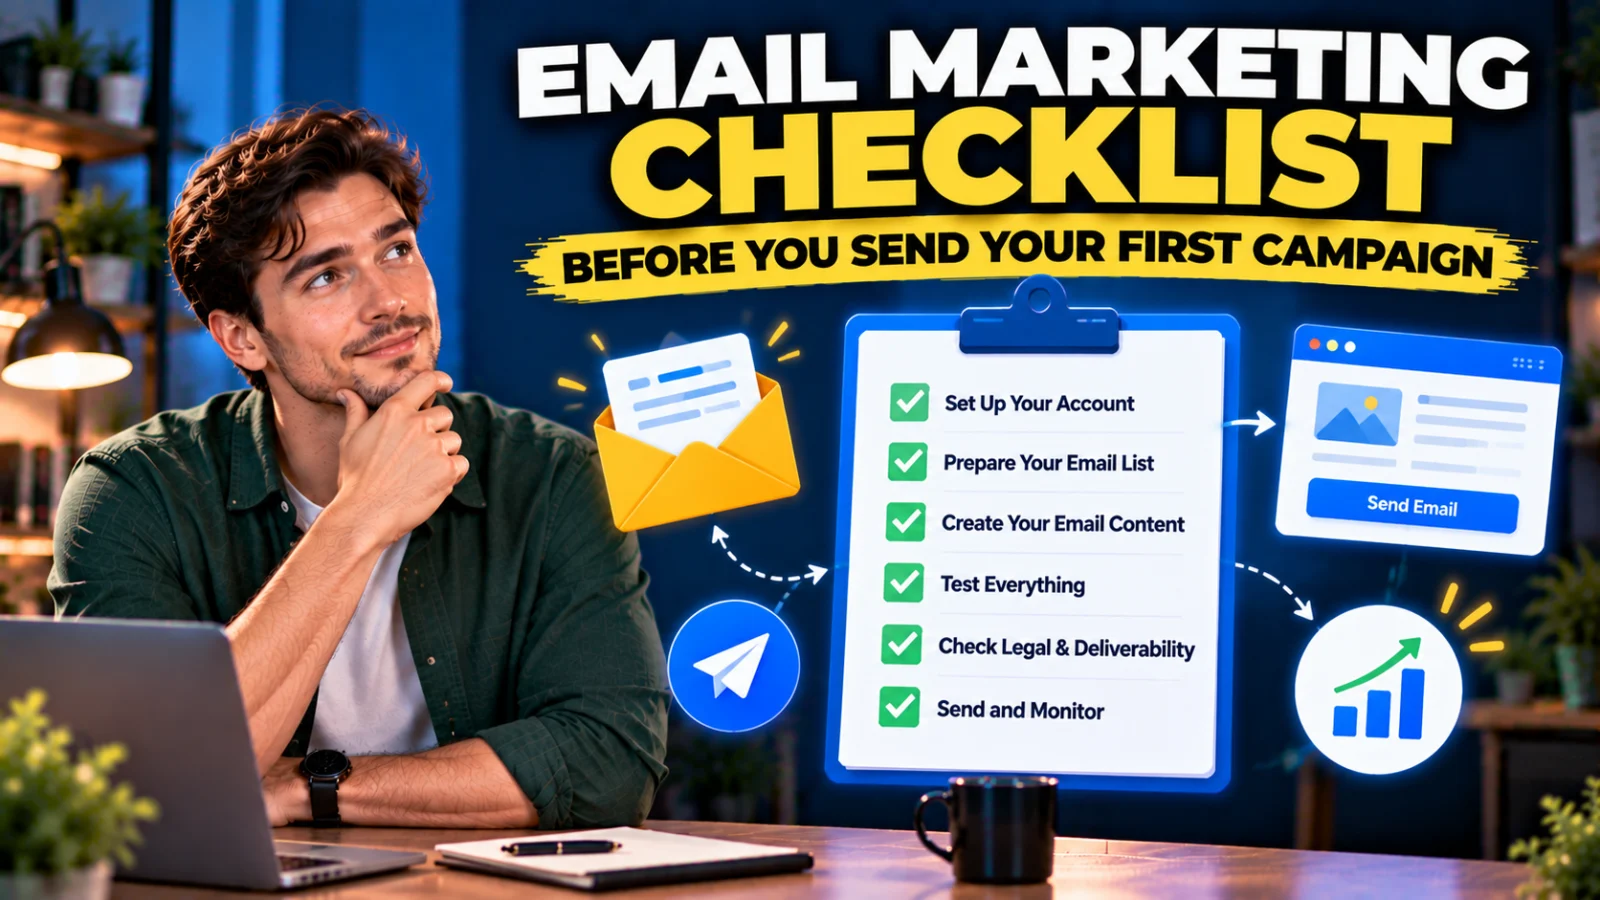
Email Marketing Checklist Before You Send Your First Campaign
Your first email campaign does not need to be perfect.
But it should not be sent blindly.
A broken link, unclear sender name, missing unsubscribe option or poorly configured sending domain can turn a simple campaign into an avoidable problem.
This checklist gives you a practical sequence to review before you press Send.
Email Marketing Checklist Before You Send Your First Campaign
Work through the campaign in five layers:
- Audience and permission
- Sender and technical setup
- Message and offer
- Links, mobile and testing
- Post-send measurement
You do not need advanced automation to send a useful first campaign. You need a clear reason for the email, people who expect it, and a technically sound sending setup.
Email Marketing Checklist Before You Send Your First Campaign: Quick Version
- Recipients intentionally joined your list.
- Your From name is recognizable.
- Your sending domain is authenticated.
- The subject line matches the email.
- The email has one clear purpose.
- Every important link works.
- The primary CTA is obvious.
- The message is readable on mobile.
- Unsubscribe works and is easy to find.
- You sent yourself a test email.
- Tracking is configured appropriately.
- You know what you will measure after sending.
1. Confirm Why You Are Sending the Email
Before writing the subject line, finish this sentence:
“After reading this email, I want the subscriber to ______.”
The answer might be to read an article, download a resource, reply to a question, register for an event, review a product or buy something.
One email can contain supporting information, but it should still have a primary purpose.
2. Make Sure the Audience Actually Asked to Hear From You
Do not treat every email address you possess as a marketing subscriber.
People who downloaded your lead magnet or intentionally joined your newsletter have a different relationship with you from someone who once sent a support enquiry.
Google’s current sender guidance recommends sending only to people who want your messages and recommends confirmed opt-in for subscription messages.
Permission is both a trust issue and a deliverability issue.
3. Check Which Segment Should Receive the Campaign
Your entire list is not always the right audience.
If the email promotes a beginner course, existing advanced customers may not need it. If it is about digital products, subscribers who joined for an unrelated topic may be a poor match.
Segmentation does not need to be complicated. Start with information you genuinely have, such as signup source, lead magnet, customer status or expressed interest.
4. Use a Recognizable From Name
The recipient should be able to identify you quickly.
Examples include:
- TechWorthFinding
- Mustaqim at TechWorthFinding
- Your Brand + Team
A mysterious sender name can make a legitimate email look unfamiliar.
5. Use a Professional Sending Address
For a business newsletter, a domain-based address can make your identity clearer than an unrelated personal mailbox.
More importantly, make sure the domain and email platform are configured correctly for authentication.
6. Authenticate Your Sending Domain
Do not leave this until the list becomes large.
Google’s current Gmail sender guidelines require senders to personal Gmail accounts to use SPF or DKIM authentication. Google recommends SPF, DKIM and DMARC.
For senders delivering more than 5,000 messages per day to Gmail accounts, Google requires SPF and DKIM, DMARC and additional alignment and sender requirements.
Your email provider should give you the DNS records and setup instructions needed for your account.
7. Understand SPF, DKIM and DMARC at a Beginner Level
You do not need to become a mail-server engineer to send your first campaign.
At a high level:
- SPF helps identify which servers are authorized to send mail for your domain.
- DKIM adds a cryptographic signature that receiving systems can verify.
- DMARC builds on SPF/DKIM alignment and tells receiving systems how your domain handles authentication failures while providing reporting capabilities.
Follow your email provider’s current instructions rather than copying DNS records from another business.
8. Write a Subject Line That Matches the Email
Your subject line’s job is to earn an informed open—not to trick someone into clicking.
Avoid misleading urgency, fake replies and claims the email cannot support.
Clear can outperform clever when the subscriber immediately understands the benefit.
9. Check the Preview Text
Many inboxes display preview or preheader text beside the subject line.
Do not waste it with accidental text such as “View this email in your browser.”
Use it to add context rather than merely repeating the subject.
10. Make the First Screen Understandable
A subscriber should quickly understand why the email matters.
Do not make them scroll through a giant logo, multiple banners and a long introduction before reaching the point.
On mobile, the first visible area is especially limited.
11. Keep the Email Focused
Your first campaign does not need to contain everything you know.
If the goal is to send readers to a new guide, explain why the guide matters and give them a clear link.
If the goal is to announce a product, focus on the problem, relevant benefit and next action.
12. Give the Email One Primary CTA
The CTA might be:
- Read the Guide
- Download the Checklist
- See the Comparison
- Start the Tutorial
- Reply and Tell Me
You can repeat the same CTA in a long email, but avoid presenting five competing primary actions unless the format genuinely requires them.
13. Check Every Link Manually
Click every important link in the test email.
Verify:
- the destination loads;
- HTTPS works;
- the page is the intended page;
- tracking parameters do not break the URL;
- affiliate links are correct where used;
- download links have appropriate access.
A polished campaign with a broken primary CTA has failed at the most important step.
14. Check the Email on Mobile
Open the test on a real phone if possible.
Look for tiny text, buttons that are difficult to tap, images wider than the screen, awkward spacing and excessively long paragraphs.
Most email builders offer responsive templates, but previewing is not the same as checking the actual received message.
15. Do Not Put Essential Meaning Only Inside Images
Images may be blocked, delayed or inaccessible to some readers.
Keep the core message and CTA understandable in text.
Add useful alt text to meaningful images where your email editor supports it.
16. Proofread Names, Dates, Prices and Claims
These errors matter more than a missing comma.
Verify product names, event dates, coupon expiry, plan prices, statistics and any factual claims that could have changed.
If the campaign references software pricing, check the current official source before sending.
17. Check Personalization Fallbacks
If your email begins with “Hi {{ first_name }},” what happens when the subscriber has no first name?
Use your platform’s fallback syntax or write the opening so missing data does not create an embarrassing greeting.
18. Make Unsubscribing Easy
Do not hide the unsubscribe link.
Google’s current sender guidance says subscription messages should support easy unsubscribing. For applicable marketing/subscription messages from senders above Google’s bulk threshold, one-click unsubscribe is required.
An unsubscribe is healthier than forcing an uninterested person to mark the message as spam.
19. Check Your Physical/Business Information Requirements
Email marketing laws and disclosure requirements vary by jurisdiction and audience.
Your email platform may provide footer fields for business identity and address information.
Do not treat a template’s default footer as proof of legal compliance. Check the rules that apply to your business and recipients.
20. Send a Real Test Email
Do not rely only on the editor preview.
Send the campaign to yourself and, if practical, test across more than one mailbox provider or device.
Check the sender, subject, preview text, layout, images, links, CTA, footer and unsubscribe flow.
21. Check Whether the Email Looks Like Spam
There is no magic list of words that guarantees inbox placement.
Focus on the fundamentals: permission, authentication, relevant content, accurate sender identity, sensible sending practices and low complaint rates.
Google currently recommends keeping user-reported spam below 0.1% and avoiding 0.3% or higher.
22. Do Not Send a Huge First Batch Just Because You Can
If you have imported a legitimate existing list into a new sending system, follow your provider’s warming and migration guidance rather than suddenly changing infrastructure and blasting maximum volume.
Google recommends increasing sending volume gradually and avoiding sudden spikes.
23. Decide What You Will Track
Common metrics include:
- delivered messages;
- bounces;
- clicks;
- replies;
- unsubscribes;
- spam complaints;
- conversions where relevant.
Open rates can still be directionally useful in some contexts, but privacy features and automated image loading can make them imperfect. Do not judge the campaign from one metric alone.
24. Add Campaign Tracking Where It Helps
If the email sends traffic to your website, consistent campaign parameters can help analytics distinguish newsletter traffic from other sources.
Use a simple naming convention you can understand six months later.
25. Know What Happens After the Click
The email is only one part of the journey.
If your CTA says “Download the Checklist,” test the landing/download page.
If it says “Buy Now,” test the sales page and checkout.
If it says “Book a Call,” test the booking calendar.
The campaign is not ready if the next step is broken.
26. Check the Automation Trigger
If clicking, buying or submitting a form should trigger another action, test it.
Examples:
- buyer receives access;
- lead gets tagged;
- subscriber enters a sequence;
- booking creates confirmation;
- customer stops receiving a sales sequence after purchase.
A campaign can work while the downstream automation fails silently.
27. Schedule With the Audience in Mind
There is no universal “best time to send email” that guarantees performance.
Your audience’s geography, habits and message type matter.
Start with a reasonable time, collect your own data and refine from actual subscriber behavior rather than treating a generic benchmark as a law.
28. Check the Time Zone Before Scheduling
This sounds trivial until a campaign intended for Tuesday morning is accidentally scheduled for a different region’s midnight.
Confirm the account time zone and scheduled date/time before leaving the campaign screen.
29. Make Sure You Can Reply to Replies
If your email invites a response, verify where replies go.
A functioning monitored reply address can make email feel like a relationship channel rather than a one-way broadcast.
30. Save a Final Version Before Sending
Some platforms autosave; others have draft/version behavior that can be confusing.
Confirm the campaign you are about to send is the latest approved version.
What to Check Immediately After Sending
Do not stare at the dashboard every minute.
But do check for obvious operational problems:
- unexpected bounce spike;
- broken-link reports;
- complaints or replies indicating an error;
- landing-page outage;
- checkout or form failures.
If there is a serious mistake, assess the impact before automatically sending a correction to everyone.
What to Review After Enough Time Has Passed
Ask:
- Did people click the main CTA?
- Which links attracted attention?
- Did the destination convert appropriately?
- Did unsubscribes or complaints look unusual?
- Did subscribers reply?
- Was the message relevant to the segment?
Use the answer to improve the next campaign.
Your First Campaign Does Not Need Advanced Automation
A beginner can start with:
Subscriber → Useful Email → One CTA → Relevant Page
As your list grows, you can add segmentation, sequences, behavior-based automation and more sophisticated journeys.
Complexity should solve a real problem.
A Practical 10-Minute Final Review
Minute 1: Confirm audience and purpose.
Minute 2: Read subject + preview text together.
Minute 3: Scan the email on desktop.
Minute 4: Scan it on mobile.
Minute 5: Click every link.
Minute 6: Check CTA destination.
Minute 7: Check sender/reply address and footer.
Minute 8: Test unsubscribe.
Minute 9: Verify schedule/time zone.
Minute 10: Re-read prices, dates, names and factual claims.
Turn This Checklist Into a Repeatable Process
Do not rely on memory after the first campaign.
Keep a reusable pre-send checklist inside your project management tool, document or email workflow.
As you make mistakes or discover business-specific checks, add them.
Your checklist should become more useful over time.
Final Takeaway
A successful first campaign begins before you press Send.
Make sure the right people asked to hear from you. Authenticate your domain. Write one focused message. Test the links and mobile layout. Make unsubscribing easy. Verify the next step. Then measure what actually happened.
The goal is not to send a perfect email. It is to build a reliable process that makes every future campaign easier to send well.
Suggested Articles to Read
 Systeme.io Pricing: Which Plan Do You Actually Need in 2026?
 How to Build an Email List From Scratch: A Beginner’s Step-by-Step Guide
 ClickFunnels Alternative With Email Marketing Built In
 Best Free Email Marketing Tools for Beginners: What Do You Really Get for $0?
 Want to Sell an Online Course Without Building a Website?