How to Create a Lead Magnet Funnel for Free

A lead magnet funnel gives people a useful free resource in exchange for their email address. It can help a creator, freelancer or small business build an audience before launching a product, course or service.
You do not need a traditional website or several paid tools to create one. With systeme.io, you can build the opt-in page, thank-you page and automated email delivery inside one free account.
What Is a Lead Magnet Funnel?
A lead magnet is a free resource that solves one specific problem for your intended audience. The funnel is the complete system around that resource: the page that captures an email address, the page that confirms the subscription and the messages that deliver the resource and continue the relationship.
Useful lead-magnet formats include:
- A one-page checklist
- A practical cheat sheet
- A reusable template or swipe file
- A short PDF guide
- A worksheet or planner
- A short email course
The best option is not necessarily the longest. A focused resource that helps someone achieve a quick result is often more appealing than a large ebook that feels like homework.
What You Need Before You Start
Prepare the basic funnel assets before opening the page builder. This makes the setup faster and keeps the message consistent.
- A clearly defined audience
- One specific problem the resource will solve
- The finished lead magnet file or delivery link
- A benefit-focused headline
- A systeme.io account
- A sender email address for the delivery message
Step 1: Create the Funnel
Sign in to systeme.io, open Sites and select Sales funnels. Click Create, enter a descriptive funnel name and choose the domain you want to use.
Select Build an Audience as the funnel goal. According to systeme.io’s official funnel documentation, this option creates the simplest list-building structure: an opt-in page and a thank-you page.
Step 2: Choose and Edit the Opt-In Page
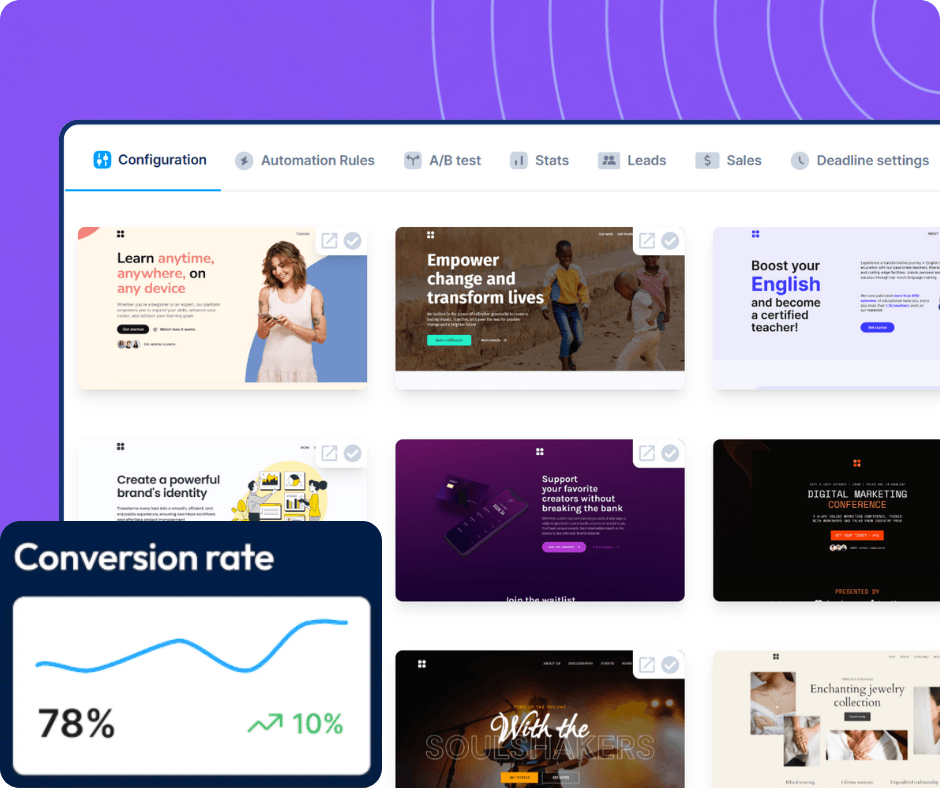
Open the opt-in step and choose a clean template. The page should have one clear purpose: convincing the right visitor to request the free resource.
A simple opt-in page normally includes:
- A headline that promises a specific result
- A short explanation of who the resource is for
- Three to five practical benefits
- A small image or mockup of the resource
- An email field and one call-to-action button
Avoid filling the page with navigation links, several offers or a long biography. Every competing action gives the visitor another reason to leave without subscribing.
Step 3: Configure the Form Correctly
Inside the page editor, confirm that the form contains at least one field with the input type set to Email. You may also ask for a first name if you plan to personalize messages, but every additional field adds friction.
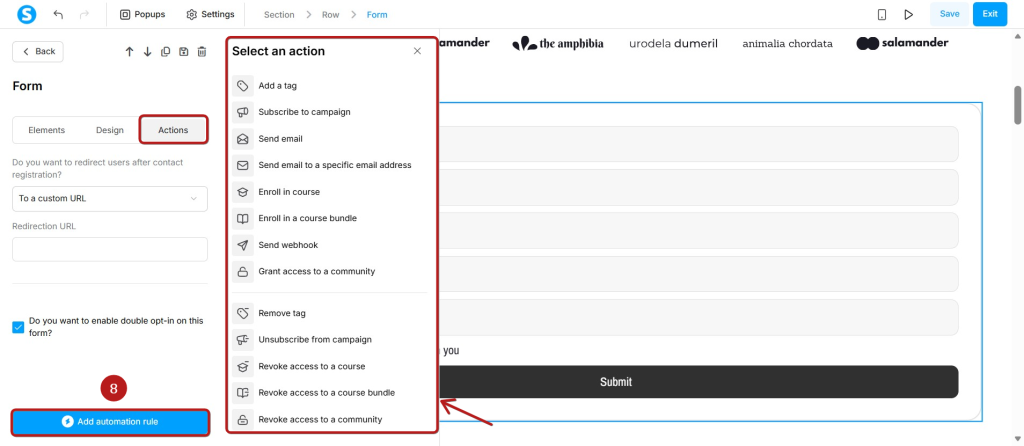
Select the form button and set its action to Submit form. This setting is essential because it tells systeme.io to save the subscriber’s information. Configure the post-submission action to redirect the visitor to the next funnel step.
Step 4: Build the Thank-You Page
The thank-you page confirms that the form worked and tells the subscriber what to do next. Keep the message simple:
- Confirm that the request was successful
- Tell the subscriber to check their inbox
- Explain when the resource should arrive
- Provide a direct download button if appropriate
You can deliver the resource on the thank-you page, by email or through both methods. Email delivery is useful because it confirms that the subscriber entered a reachable address and introduces your sender name.
Step 5: Create the Delivery Email
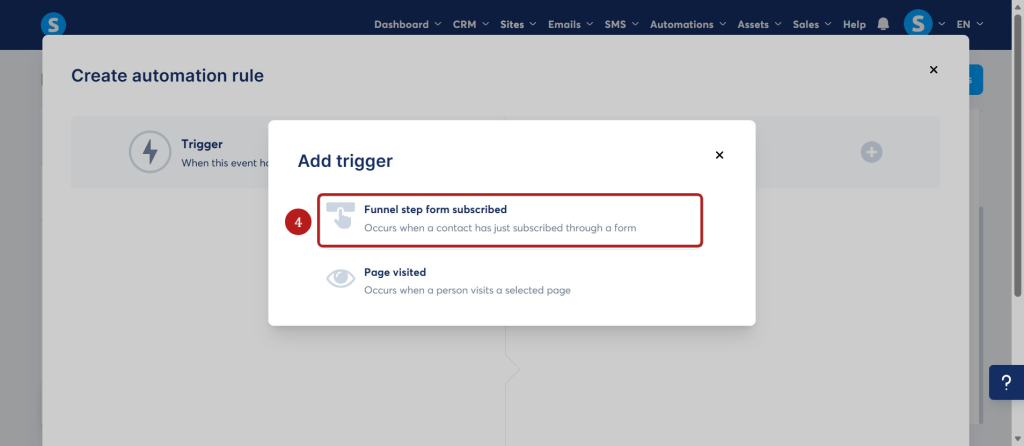
For the simplest setup, add an automation rule directly to the opt-in funnel step. Use Funnel step form subscribed as the trigger and Send email as the action.
The email should thank the subscriber, restate the benefit and include a clear download link. You can attach a small file, but a secure cloud or hosted download link is often easier to update later.
Step 6: Add a Tag or Welcome Campaign
A single delivery email completes the basic funnel. A short campaign makes the funnel more useful by continuing the conversation after the download.
Under Emails → Campaigns, create a campaign and add a small sequence. Then return to the opt-in automation and add Subscribe to campaign as an action. You can also apply a descriptive tag, such as Lead Magnet — Checklist, to keep subscribers organized.

A beginner-friendly campaign could follow this structure:
- Deliver the resource. Send the promised file or download link immediately.
- Provide a quick win. Share one practical tip that helps the subscriber use it.
- Build trust. Explain a common mistake or tell a relevant short story.
- Introduce the next step. Mention your related product or service naturally.
Step 7: Test the Complete Funnel
Open the opt-in page in a private browser window and submit an email address you can access. Test the funnel as if you were a new visitor.
- The form accepts the email address
- The thank-you page loads correctly
- The contact appears in your account
- The correct tag or campaign is applied
- The delivery email arrives
- The download link opens the correct file
- The opt-in page works on mobile
Do not promote the page until every step works. A broken download or missing email can damage trust at the exact moment a new subscriber is deciding whether your content is useful.
Final Thoughts
A useful lead magnet funnel does not need to be complicated. Start with one focused resource, one opt-in page, one thank-you page and one reliable delivery email. Add a short welcome campaign only after the basic path works correctly.
Systeme.io places the page builder, contact list and email automation in one account, making it a practical way to test this workflow without assembling several separate tools.
Ready to Build Your Lead Magnet Funnel?
Create your opt-in page, delivery email and welcome campaign in one place.
Affiliate disclosure: This article may contain affiliate links. If you sign up or make a purchase through one of these links, I may earn a commission at no additional cost to you.