How to Test Your Digital Product Checkout Before Launch
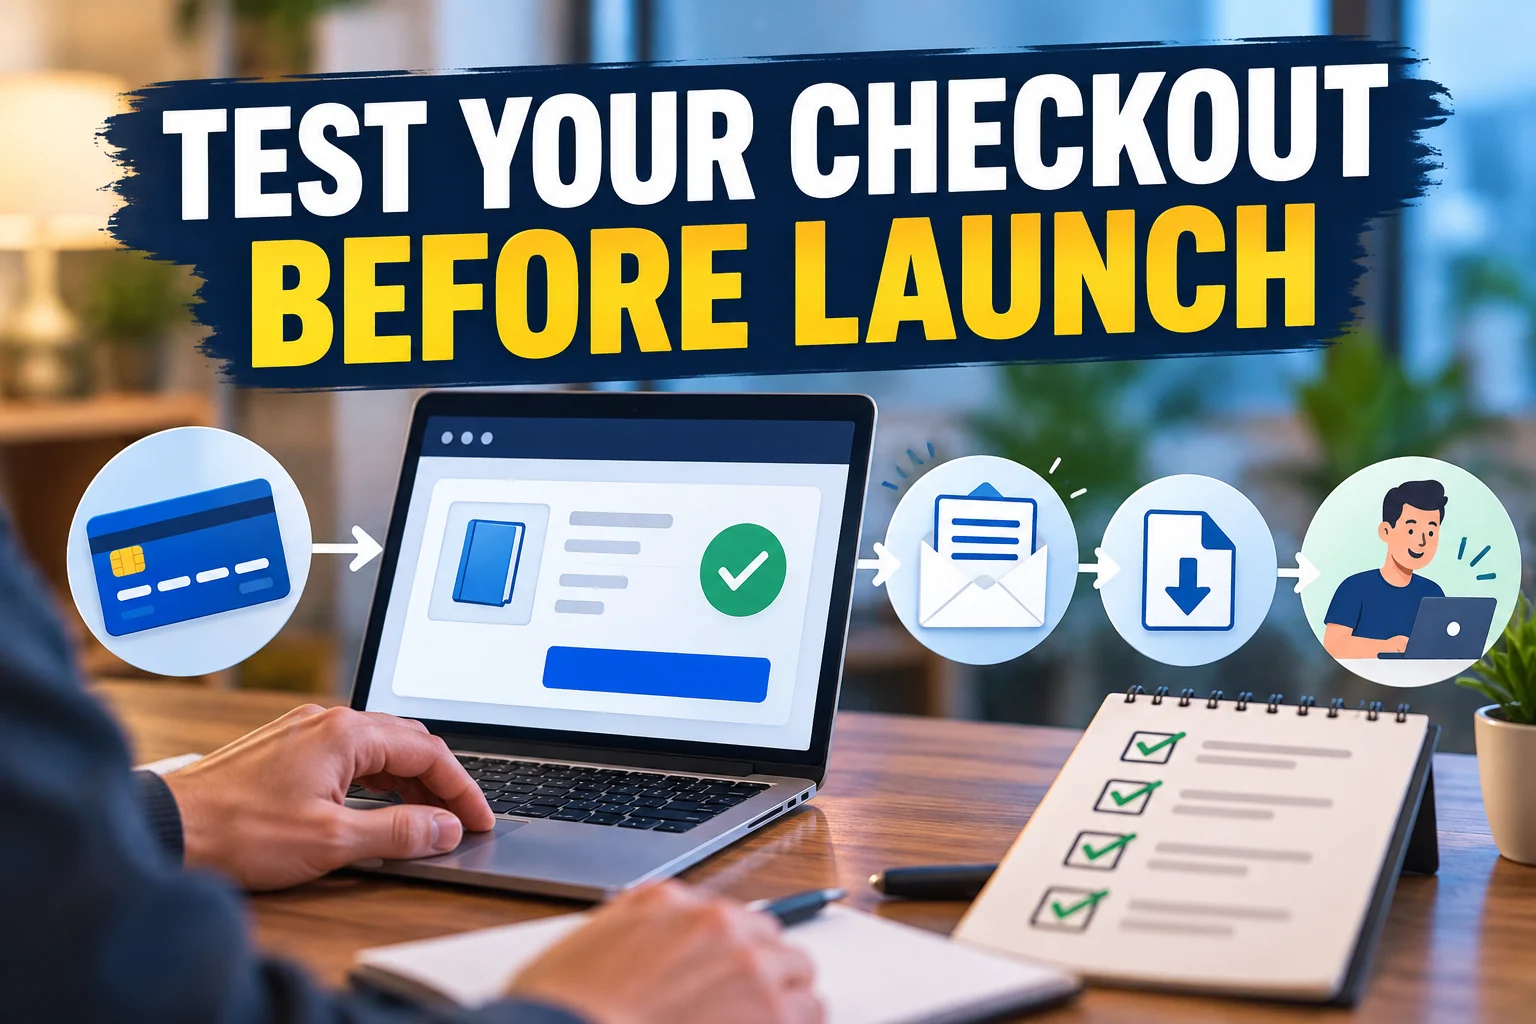
A checkout page can look perfect and still fail at the moment that matters. The payment may complete without delivering the file, the confirmation email may never arrive, or the buyer may reach a thank-you page with no clear next step.
That is why you should test more than the checkout form itself. Before launching a digital product, run through the complete purchase journey as if you were a real customer.
A successful checkout test does not end when the payment is accepted. It ends when the buyer receives the correct product, can access it successfully, and knows what to do next.
What Should You Test Before Launching?
For a simple ebook, template, printable, download, or other digital product, test the entire path:
Sales Page → Checkout → Payment → Confirmation → Email → Product Access
If your setup includes an account, course area, membership, coupon, upsell, or automation, continue the test through those steps too.
The goal is to verify what actually happens, not what your settings screen says should happen.
1. Start From the Same Place as a Real Customer
Do not begin the test inside your admin dashboard. Open the public-facing page where a customer would first encounter the offer.
Check the product name, price, description, buy button, and any important delivery information before moving to checkout. This catches a common type of problem: the backend is configured correctly, but the customer-facing page still contains an old price, broken button, or outdated product detail.
If you expect customers to arrive from a specific landing page, email, social profile, or other source, test that entry path as well.
2. Use a Safe Test Purchase Method
If your checkout or payment provider offers a test or sandbox mode, use its official testing method and test payment details. Different platforms handle testing differently, so follow the instructions for the system you actually use.
Some setups may require a real low-value transaction instead. If you choose that route, first check your payment provider’s rules and understand whether processing or refund fees may apply.
Never assume that a preview of the checkout is equivalent to a completed test order. You need to verify what happens after the order is submitted as well.
3. Check the Product, Price, and Order Details
Before submitting payment, read the checkout like a customer who has never seen your admin settings.
Confirm that:
- the correct product is shown;
- the displayed price is correct;
- the currency is what you expect;
- required customer fields make sense;
- optional fields are not creating unnecessary friction;
- discounts or coupons work correctly if you offer them;
- the purchase button clearly communicates the action.
If you sell multiple products or variants, test more than one combination when those paths behave differently.
4. Complete the Payment
Submit the order using the approved testing method for your payment setup. Do not stop after seeing a loading animation or success message.
Check whether the payment or simulated payment reaches the expected status in both the customer-facing flow and your order system.
If you offer multiple payment methods, each active method deserves its own test when practical. One working card flow does not prove that every other payment option is configured correctly.
5. Inspect the Thank-You Page
Immediately after checkout, look at the page from the buyer’s point of view.
It should make the outcome clear. A customer should not have to wonder whether the order succeeded or where the product will arrive.
Depending on your setup, verify that the page:
- confirms the purchase;
- shows the correct product or order information;
- provides a working download or access button when applicable;
- explains that access is being sent by email when applicable;
- gives a clear next step;
- provides a support route if the buyer cannot access the purchase.
6. Check the Customer Email
Use an inbox you can actually access during the test. Then check whether the expected purchase, receipt, welcome, or delivery email arrives.
Open the message instead of merely confirming that it exists.
Check the sender name, subject, product name, links, instructions, and any customer details inserted automatically. Click the access or download link and verify that it leads to the correct destination.
Also check the spam or junk folder during testing. If a message does not arrive, investigate the email setup rather than assuming customers will receive it later.
7. Download or Access the Actual Product
This is one of the most important steps for digital products.
If you sell a file, download it through the same link a buyer receives. Open the downloaded file and confirm that it is the final version, not an old draft or the wrong attachment.
If you sell a course, membership, or protected resource, log in using the test customer account. Verify that the correct product is unlocked and that unrelated paid content is not accidentally accessible.
For templates or resources hosted on another service, check that sharing permissions allow the customer to use the product in the way your instructions promise.
8. Check the Order From the Admin Side
Now switch perspectives and inspect what your business received.
Verify that the order appears in the correct place with the expected product, customer information, amount, and status. If the purchase is supposed to trigger tags, lists, automations, account access, or another internal action, confirm those outcomes too.
This step matters because a customer may see a successful confirmation while an internal automation silently fails.
9. Test on a Phone
Do not assume that a checkout that works on your desktop will feel equally clear on a phone.
Repeat the important customer-facing steps on a mobile device. Check that buttons are easy to tap, form fields are usable, important text is readable, payment controls display correctly, and the buyer can reach the download or access page without awkward horizontal scrolling or hidden elements.
If mobile customers are important to your business, complete an actual test order on mobile rather than checking only the visual layout.
10. Test a Failure or Recovery Path
A perfect successful order is only one scenario.
Where your platform’s official test tools support it, check at least one failure or recovery situation. For example, test what the buyer sees when payment is declined or when incorrect payment information is entered.
You can also inspect practical recovery questions:
- Can a customer find the product again if they close the thank-you page?
- Does the delivery email provide a usable return path?
- Is support information easy to find?
- Can you resend access if necessary?
You do not need to simulate every possible technical failure before a small launch. Focus first on the problems that would prevent a paying customer from receiving what they bought.
11. Test Any Coupon or Special Launch Offer
If your launch uses a discount code, bonus, special price, or limited offer, test that exact configuration.
Confirm that the discount changes the amount correctly and that the customer still receives the same intended delivery and follow-up. If the offer has an expiration rule, verify the relevant settings before promotion begins.
Do not discover on launch day that the coupon advertised in your email is invalid at checkout.
12. Turn Off Test Mode Before Going Live
When testing is complete, return every system that needs to accept real transactions to its intended live configuration.
Check the payment setup again instead of relying on memory. Then make sure your public buy buttons point to the correct live checkout.
Some platforms prevent real customer payments while a payment gateway is in test mode. Treat switching back to the intended live configuration as part of the launch checklist, not an optional cleanup task.
Digital Product Checkout Test Checklist
- Open the offer from the customer’s real entry point.
- Confirm the product, price, currency, and buy button.
- Use your platform or payment provider’s approved testing method.
- Complete the checkout instead of stopping at preview.
- Confirm the expected payment and order status.
- Inspect the thank-you page and next-step instructions.
- Open the customer email and test every important link.
- Download or access the actual purchased product.
- Verify the order and relevant automations in the admin area.
- Repeat the important flow on mobile.
- Test a supported failure or recovery path where practical.
- Test coupons or launch offers you plan to promote.
- Return the payment system to the intended live configuration before launch.
When Should You Run the Test Again?
Checkout testing is not only a one-time launch task.
Run another test after meaningful changes to payment settings, checkout pages, product delivery, automation, customer emails, access rules, or integrations. You should also retest after replacing the actual product file or changing the post-purchase journey.
You do not need to repeat every edge case after a minor copy edit. Match the depth of the test to the part of the system you changed.
Final Takeaway
The purpose of a checkout test is not simply to prove that a payment button works. It is to prove that a customer can move from deciding to buy to actually receiving value without needing you to rescue the order manually.
Run one complete purchase journey before launch. Check what the buyer sees, what arrives in their inbox, what they can access, and what your admin system records. Fix the weak points, retest them, and only then send real customers into the flow.
Suggested Articles to Read
 Want to Sell an Online Course Without Building a Website?
 Want to Sell an Online Course? Here’s the System You Actually Need
 Systeme.io vs WooCommerce: Which Is Simpler for Selling One Digital Product?
 Systeme.io vs Teachable: Which Is Better for Selling Your First Online Course?
 Systeme.io Review: Is It Worth It for Beginners in 2026?